












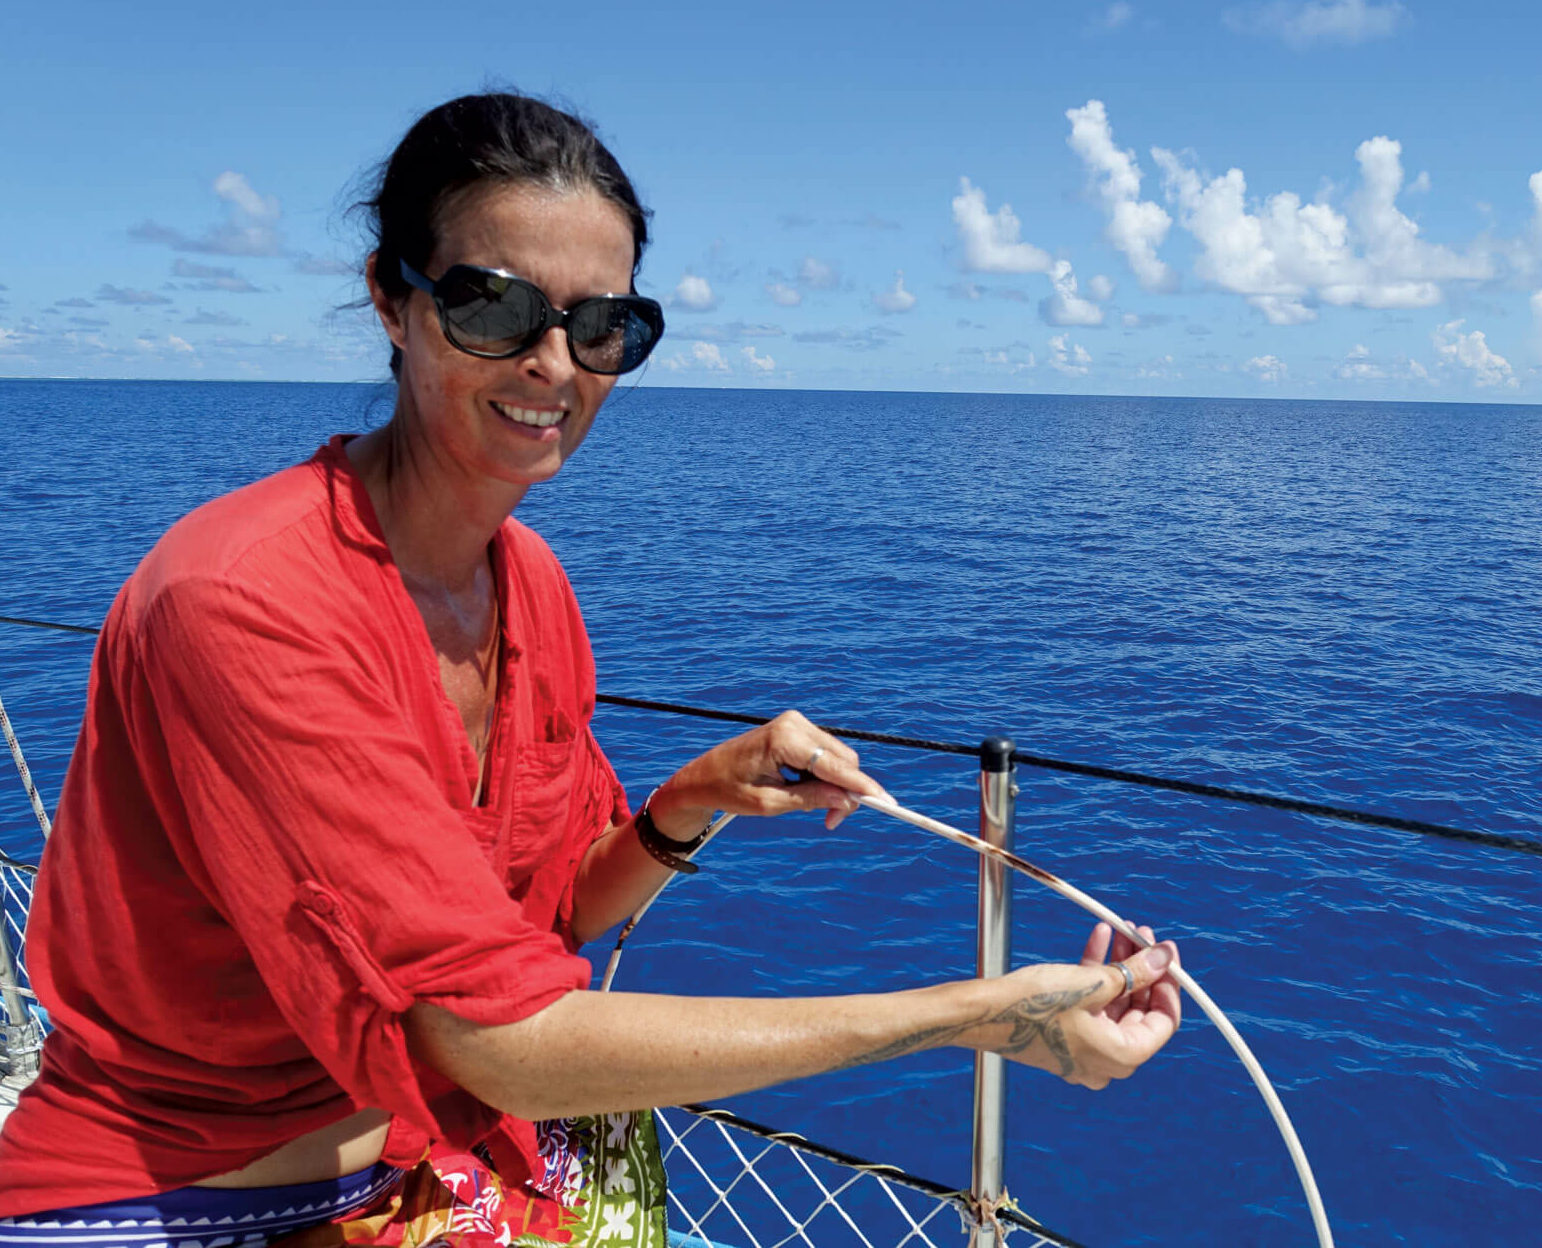
Ditching Rust for Strength: Upgrading to Dyneema Lifelines
We have a habit of going round the boat after every passage with a bucket of water to wipe salt off the sprayhood, solar panels, shrouds and stanchions, which helps keep corrosion at bay, but the rusty wire marred all our efforts. Now we have finally got rid of those ugly lifelines and have replaced them with dyneema!

Our Pitufa was designed with a pulpit at the bow and quite a substantial pushpit around the stern and up to the center cockpit (all made of sturdy stainless tubes) as well as stainless steel stanchions along the deck with two rows of plastic-coated wire going through those stanchions. A safe setup for a bluewater cruising boat. The wire initially looked quite pretty, white and shiny, but soon the coating cracked and ugly rust stains started discoloring it. Even worse, the rust also seeped out and ran down the stanchions—no matter how often we polished, we just couldn’t win that endless battle against blotchy stains. We replaced the lifelines a few years ago, but the new wire was of even lower quality and started getting rusty within half a dozen months, so the polishing battle went on. We have a habit of going round the boat after every passage with a bucket of water to wipe salt off the sprayhood, solar panels, shrouds and stanchions, which helps keep corrosion at bay, but the rusty wire marred all our efforts. Now we have finally got rid of those ugly lifelines and have replaced them with dyneema!
Why dyneema?
According to Wikipedia “Dyneema Composite Fabric (DCF), is a high-performance non-woven composite material used in high-strength, low-weight applications. It is constructed from a thin sheet of ultra-high-molecular-weight polyethylene (UHMWPE) laminated between two sheets of polyester”. Dyneema is 15 times stronger than steel per weight and 40% stronger than aramids. It’s UV-resistant, abrasion resistant, light enough to float on water and doesn’t stretch much. More and more sailors are using dyneema instead of stainless steel shrouds. For our purpose we chose a 6 mm hollow-braid line, which has an impressive breaking load of somewhere between 3 and 4 tons according to different sources. Unfortunately this high-tech material is rather expensive, but we only needed about 40 meters for two lines of lifelines on our 41 ft monohull.

Researching splices
We started with removing the old wires, followed by a day of scrubbing and sanding and polishing the stanchions to get rid of all the corrosion. Then we got out the roll of sleek, black dyneema. The old wires were fixed with turnbuckles to the pushpit and pulpit. That solution wouldn’t work well with the new lines. Christian started googling options and watching YouTube videos—the variety of splicing and knotting options seemed overwhelming at first, but in the end we decided to go for two of the simpler solutions. We would fix the eyes on the forward ends of the lifelines with locking splices without thimble and the other side with simple bury splices around a thimble plus stitches to avoid sliding. We needed a large fid (slightly larger than the diameter of the line) for the actual splicing, a small fid to pull out strands to taper the ends, a sharp pair of scissors, and a large needle and twine to fix the second splice.
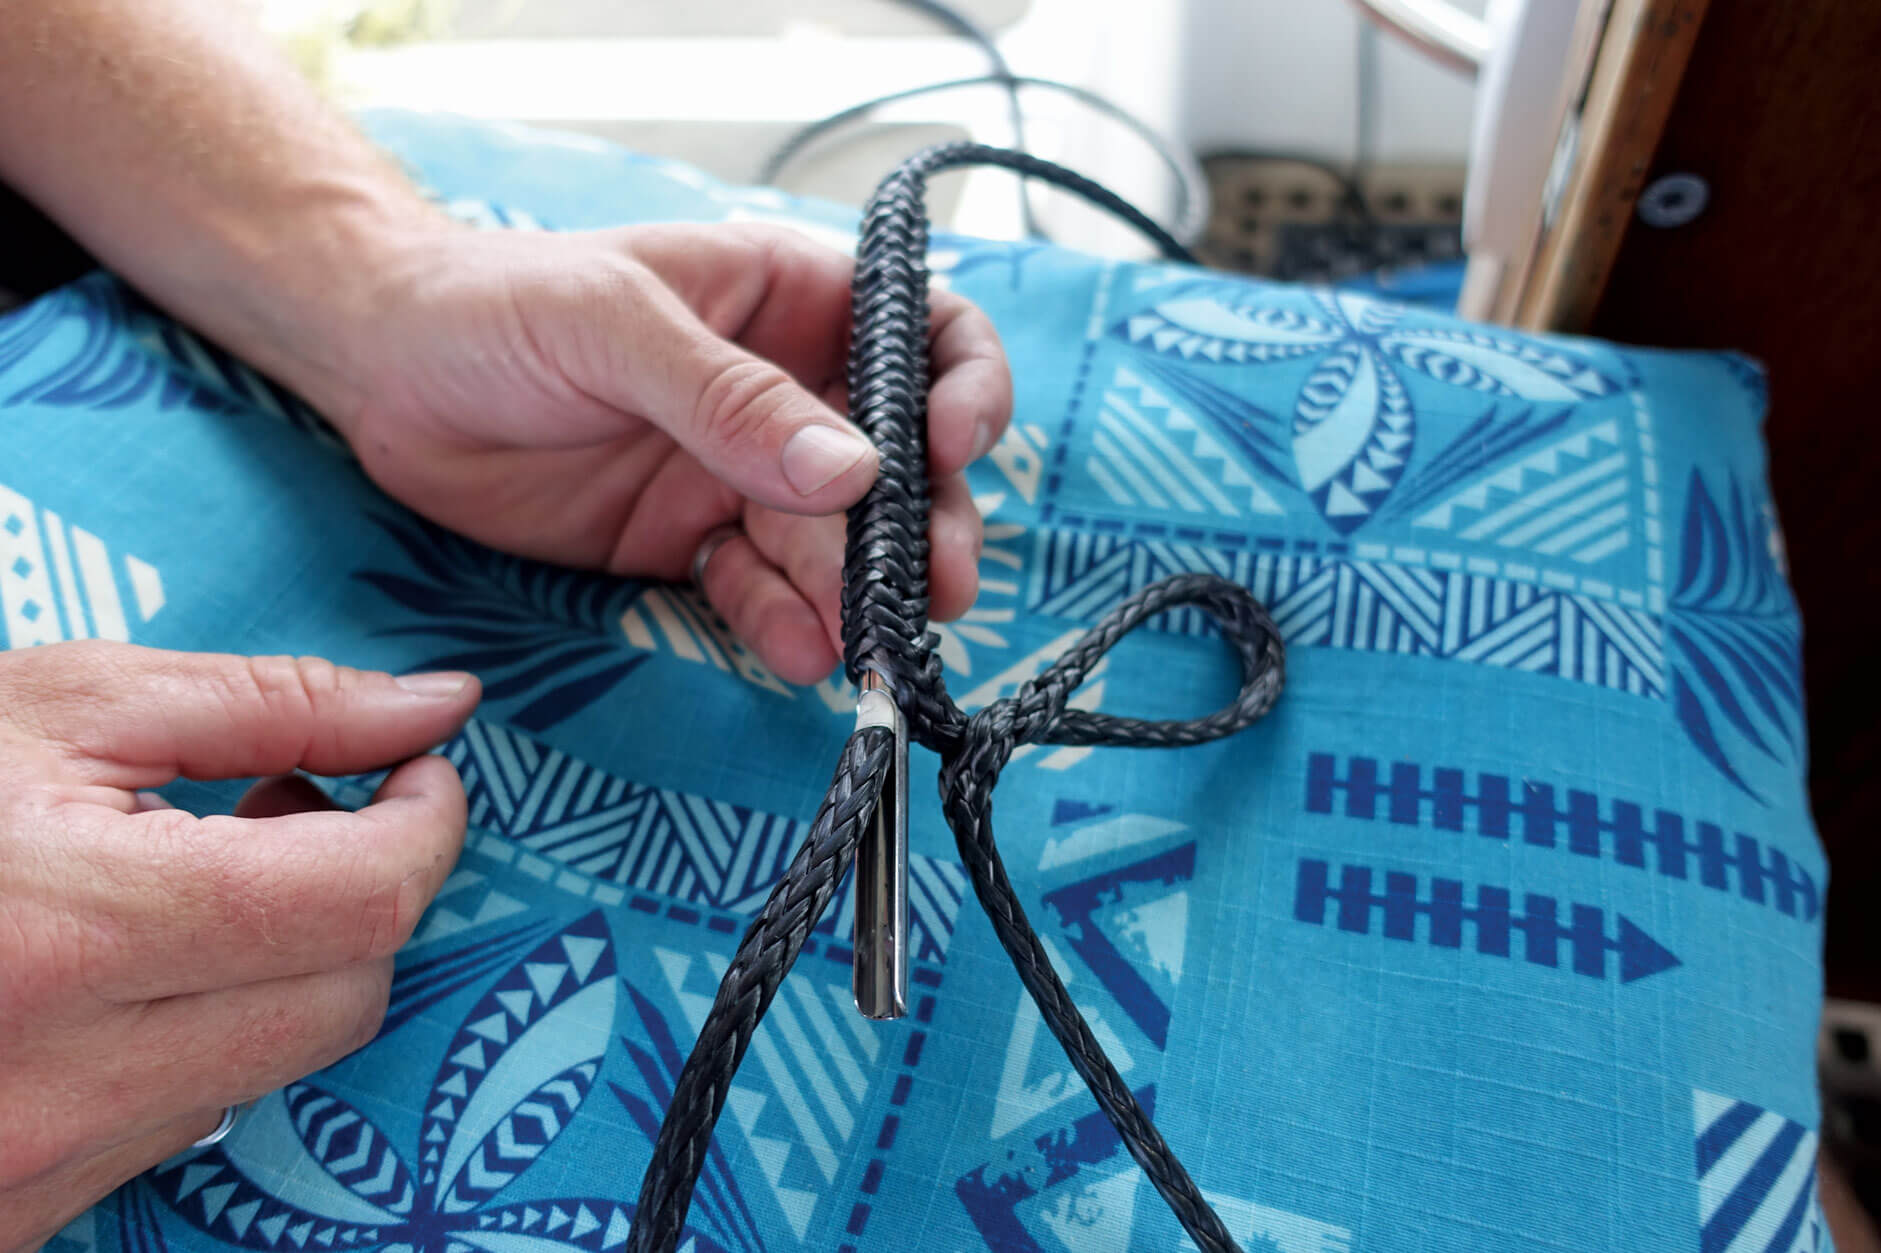
We chose a “Mobius Brummel locking splice” (see pic 1) for the forward eye splice as the easiest way to make this is to have both tails free, pass the first tail through the second tail, then the second tail through the first tail. The end result is a solid splice which can’t slide apart because they lock each other. It would be too complicated to explain the splice in detail here, but there are plenty of instructive videos available online. Tip: the line must be considerably longer cut off than the finished result! The instructions we used stated that “The tail that is to be buried needs to be 72 times the diameter of the line. If the line used is 6mm, therefore, 6mm x 72 = 432mm, or 17 inches”. We used half a meter—and that’s just for the first splice!
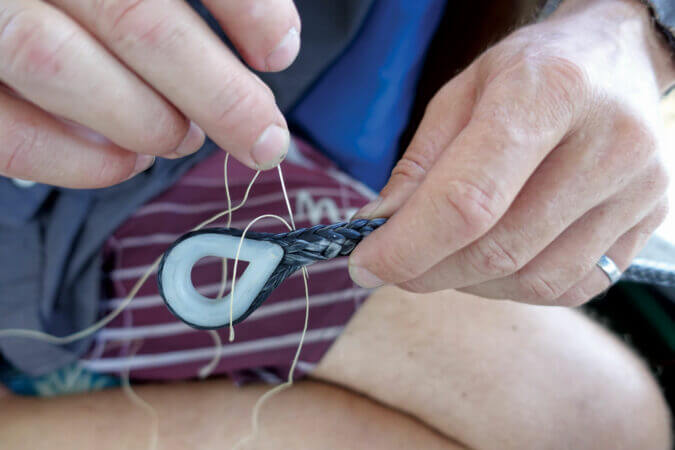
First splice done, the eye is led through the metal attachment on the pulpit and the long end passed back through the eye. Then we fed the line through the stanchions and did a “Long Bury Splice” (see pic 2) with stitching and wrapping at the other end. We went for this method as this splice is relatively easy to undo and redo (unlike the Mobius Brommel and other solutions) in case you have to change something with the stanchions or do some other adjustment with the lifelines.
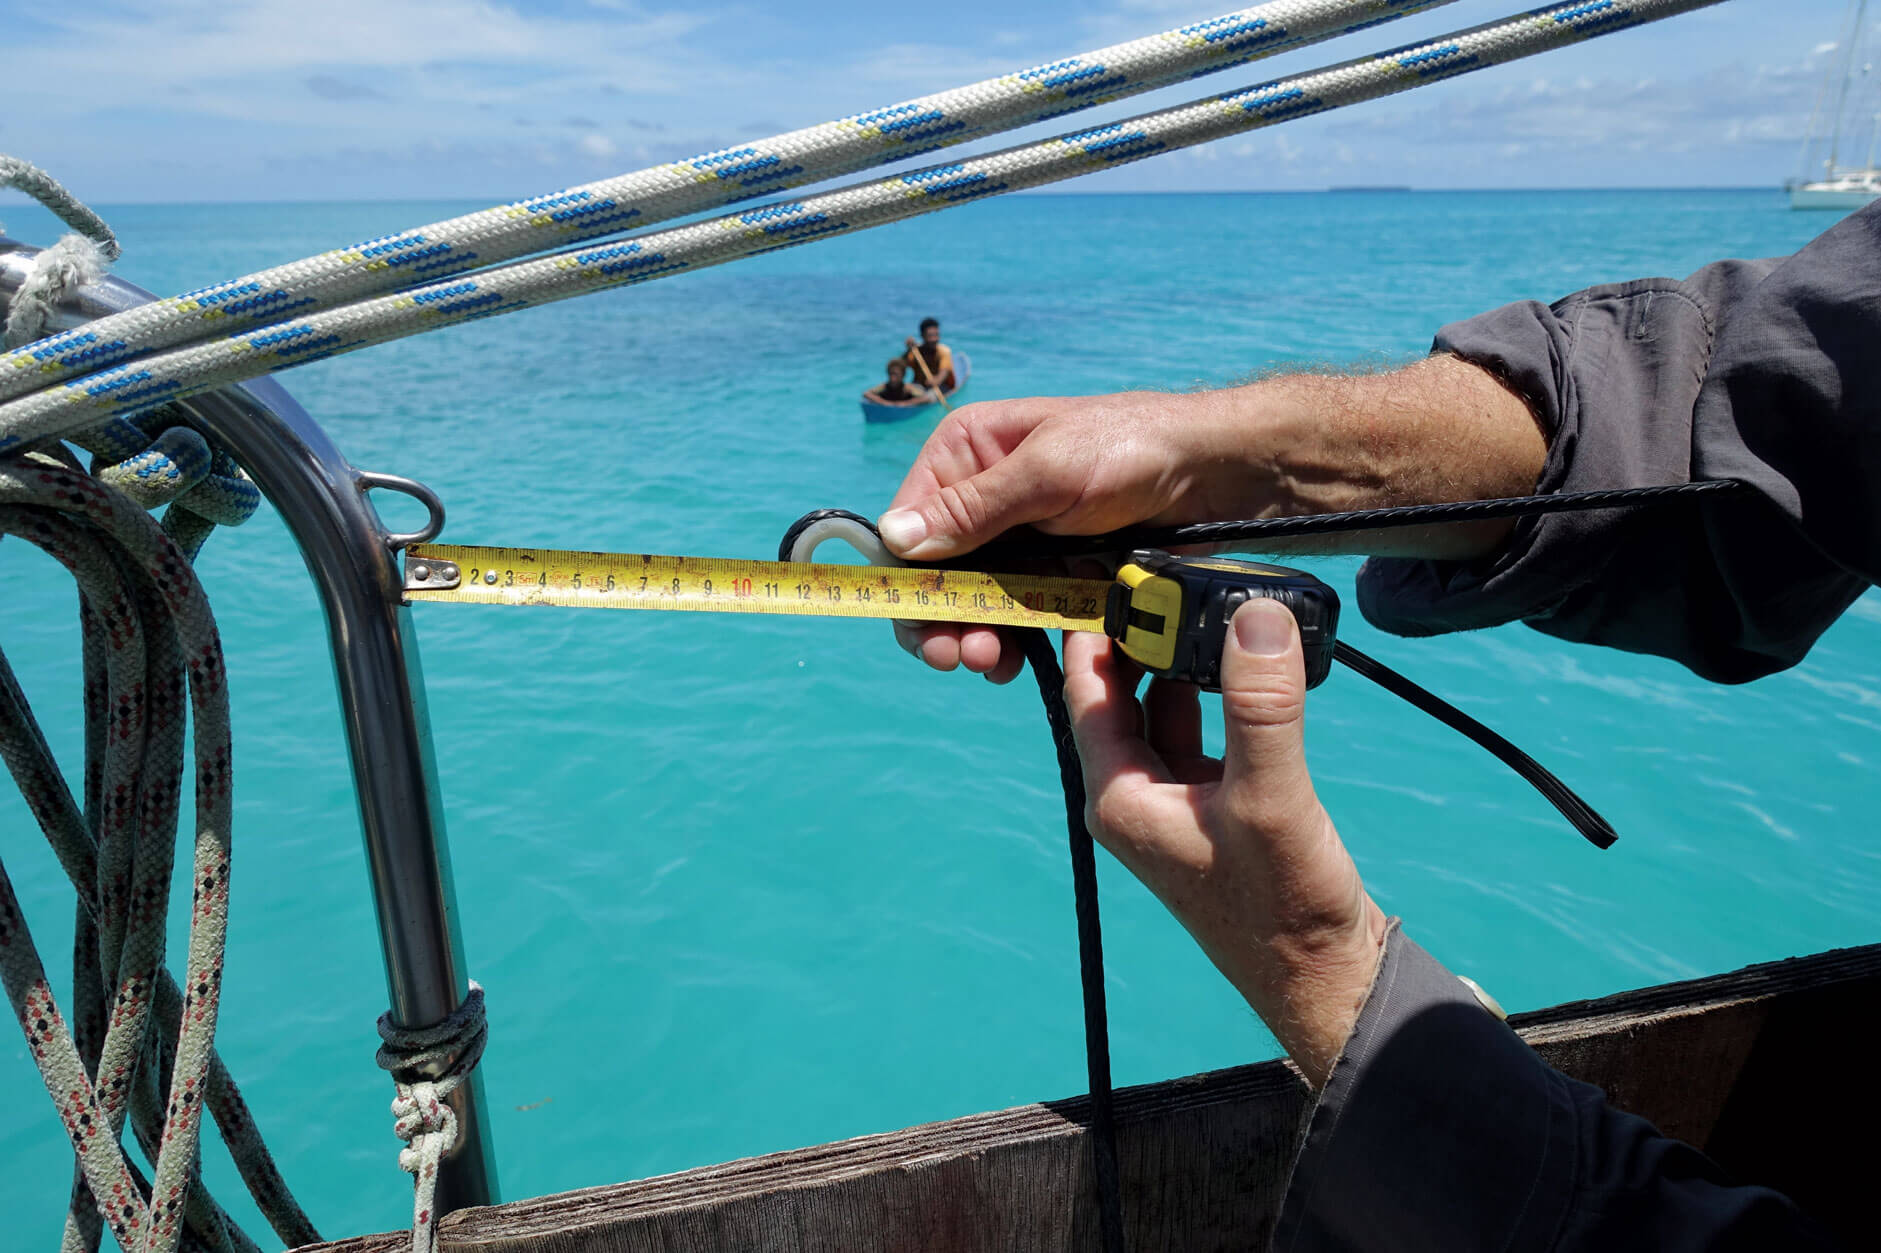
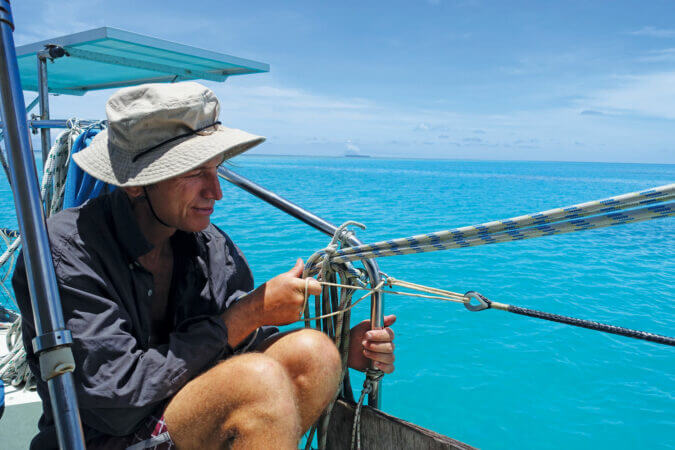
For measuring the length, we left a gap of about 12 cm (5 inches) before doing the second splice as the spliced section of the rope will be thicker and therefore shorter than the yet unspliced material (see pic 3). Dyneema doesn’t stretch much and in order to tighten the lifelines so much that they would feel safe to lean (or stumble) against, we fixed and tensioned them with lashings, using a 4 mm non-stretch line with 3 loops (see pic 4).
The first lifeline took a long time and we even had to redo a splice after breaking a stanchion cap (hence the decision to do a Long Bury splice). The following ones went easier with practice and we are very pleased with Pitufa’s new look wearing elegant black lifelines!
Birgit and Christian have sailed from the Med via the Atlantic and Caribbean to the South Pacific. Check out their blog www.pitufa.at for more info and pictures or order their books on Amazon: “Sailing Towards the Horizon” tells the story of their travels and “Cruising Know-How” is a collection of tips, tricks and how-tos.
Birgit Hackl has written for ALL AT SEA since 2012.
Worth your time?
Thanks — noted.