















Mounting Bifacial Solar Panels
See how long-term cruisers upgraded their sailboat with bifacial solar panels for more efficient offshore charging and energy independence.

Upgrading a Cruising Sailboat to Bifacial Solar Panels
Key Questions Answered:
- Are bifacial solar panels worth it on a sailboat?
- How do cruisers maximize solar charging offshore?
- What are the challenges of adding solar to a monohull?
- How do you mount solar panels on railings and radar arches?
As onboard energy demands continue to rise, many long-term cruisers are rethinking traditional solar setups. This firsthand upgrade aboard SY Pitufa explores how bifacial solar technology can dramatically improve charging efficiency—especially on space-limited monohulls.
What are bifacial solar panels?
Bifacial solar panels generate power from both sides of the panel, capturing direct sunlight on the front and reflected light on the back. On sailboats, reflected sunlight from the water can improve charging efficiency significantly.

If you want to rely solely on alternative energy on your boat, you need quite an extensive solar array—actually once you’ve been out cruising for a while, you’re likely to find that you consume even more than expected. While catamarans feature large areas that can conveniently be covered with photovoltaic, it is more difficult to find space on a monohull (particularly on a classic design with a narrow stern). We therefore decided not to go just for quantity, but for quality and efficiency and switched to bifacial panels on our SY Pitufa.
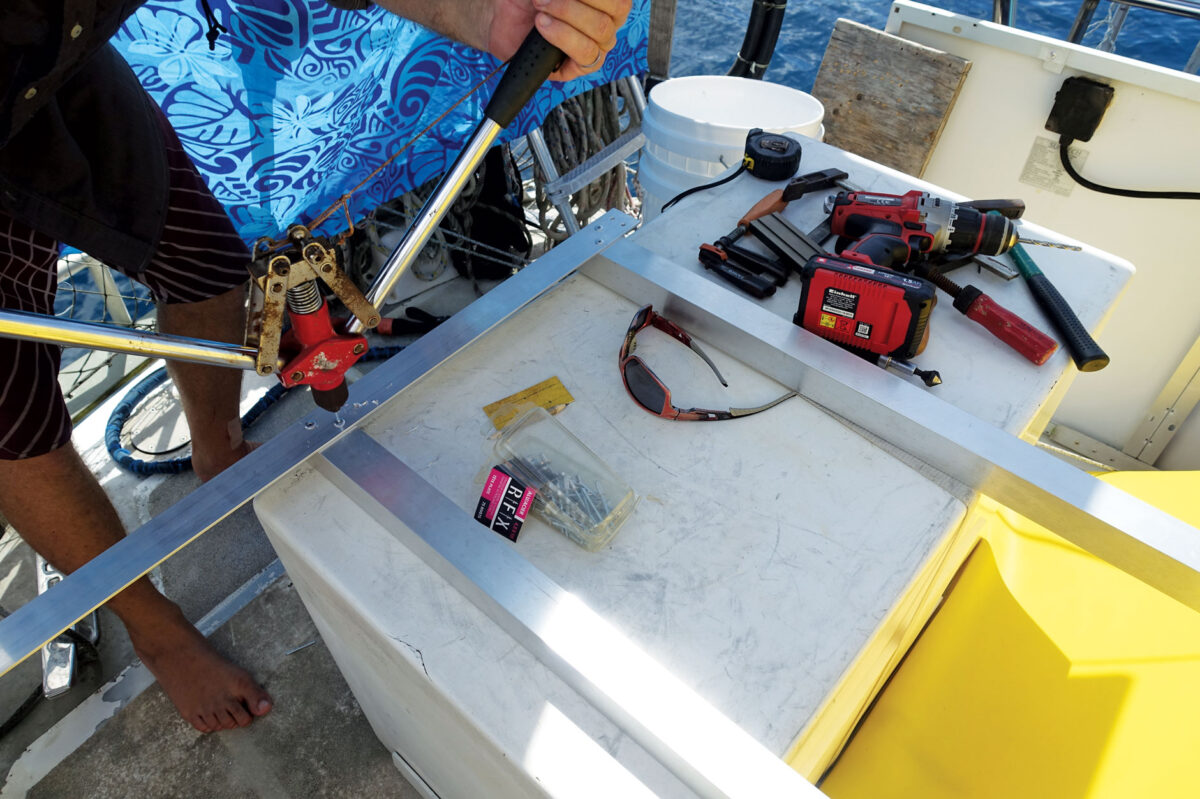
Riveting gun. Photo by Birgit Hackl & Christian Feldbauer
We set out cruising from the Mediterranean in 2011 with the rather naive (and in hindsight ridiculous) assumption that three little panels would be enough to cover our energy needs. By the time we reached the Atlantic, we had enough of a camping-like lifestyle with limited laptop time and rationed music consumption, bought another two panels in the Canary Islands and a few more over the years. After each purchase, Christian had to build new mounts and shuffle the whole array to somehow fit on Pitufa’s narrow stern and fragile radar arch. Our motley collection of different brands, designs and dimensions wasn’t ideal from an aesthetic point of view, but moreover, it also didn’t bring maximum charging power. Swapping from lead-acid batteries to lithium helped for a while, but during the winter of 2025 we could no longer ignore the problem: even though we are cruising all-year-round close to the equator, the lower angle of the winter sun in combination with cloudy or overcast days meant that we had to limit our energy consumption or turn on the engine from time to time to charge the batteries. We finally had to bite the bullet and invest in new solar panels. But this time we didn’t go for some dusty shelf warmer in a local China shop with out-dated technology. If we changed the set-up yet again, it was meant to last a long time, so we did some research and ended up ordering bifacial solar panels from Renogy.
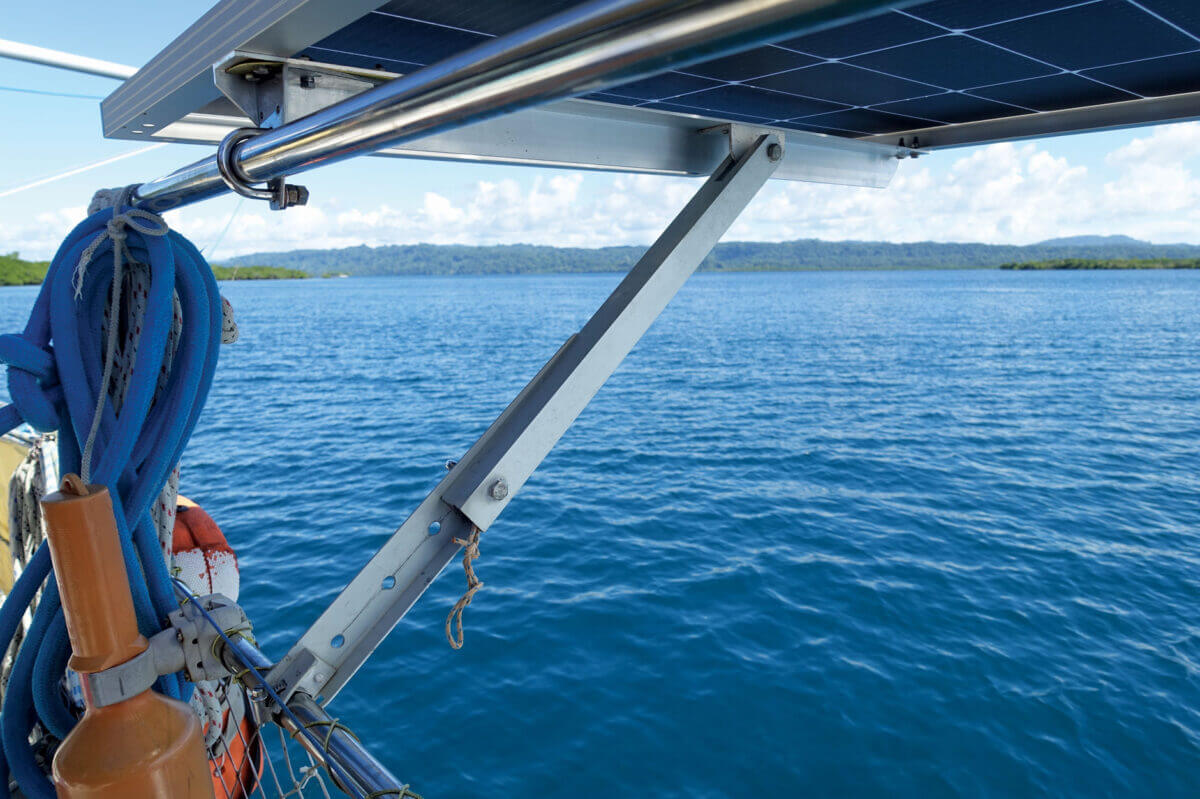
Railing panel mounts. Photo by Birgit Hackl & Christian Feldbauer
Bifacial panels for efficiency
As the name implies, such panels have their photovoltaic cells on a transparent base layer to collect light from both their front and back surfaces—ideal for our boat where the mountings on radar arch as well as and on the railings mean they are located right above the glittering, reflecting surface of the sea. We could hardly believe our eyes when we saw that the efficiency of these modern panels: with incredible 20 W/ft² (212 W/m2) they would allow us to upgrade to 1 kW from our existing 600 Watts (which was theoretical as the old panels hadn’t yielded so much energy in years) with only a slightly larger panel surface! Due to our remote location in the Solomon Islands we ordered the panels together with all the material that would be needed for mounting them from Australia. Christian spent days contemplating, measuring and drawing sketches before he finally dared to finalize an order for custom-cut aluminum profiles and angles.
The shipment arrived with a month delay (the delights of remote cruising), but all our goodies had survived the container ship trip unscathed, so we did a last raid through hardware shops for screws, nuts and bolts and headed out to a calm anchorage to get cracking! Looking at the huge cardboard boxes we felt slightly intimidated. Would the panels fit? Would the mounts be strong enough? Had we thought of all the necessary bits’n’pieces?
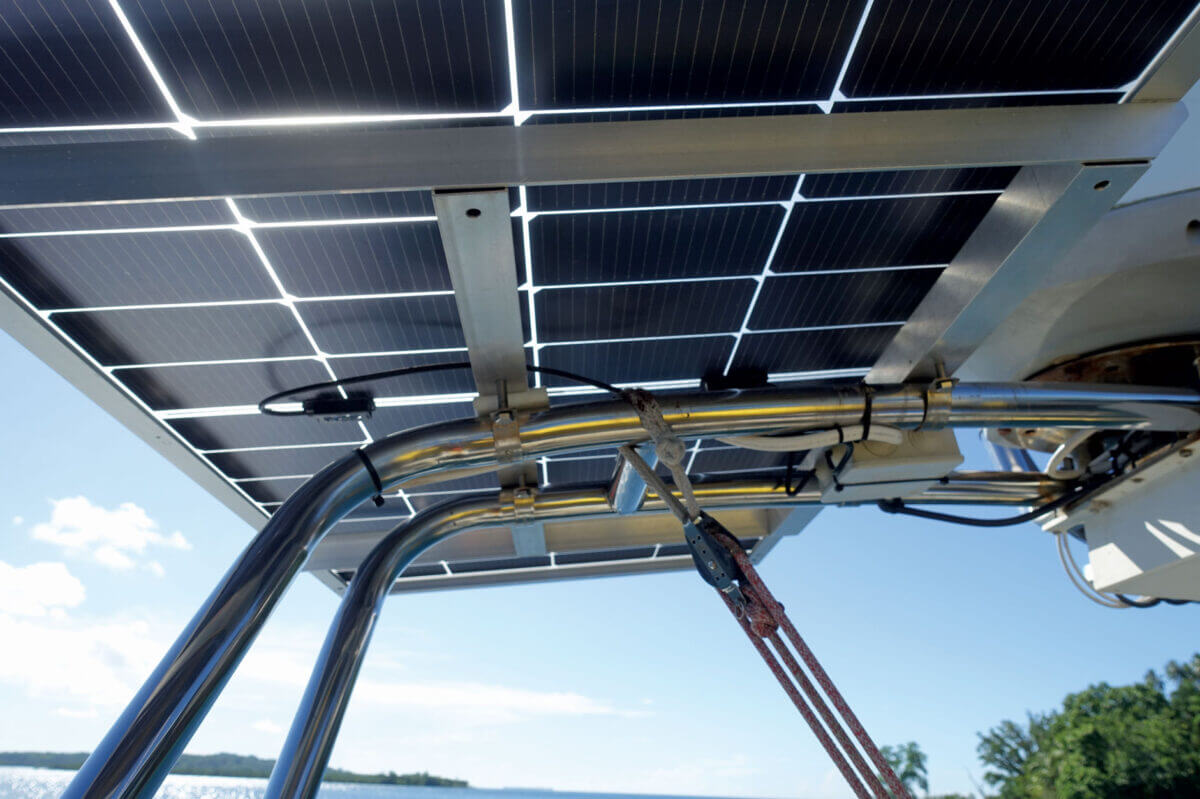
Radar arch mounts. Photo by Birgit Hackl & Christian Feldbauer
1. Railing Panels
With these mounts the challenge was to make them adjustable (to be able to put them at a different angles, e.g. when heeling on a passage) and foldable (to get them out of harm’s way when docking).
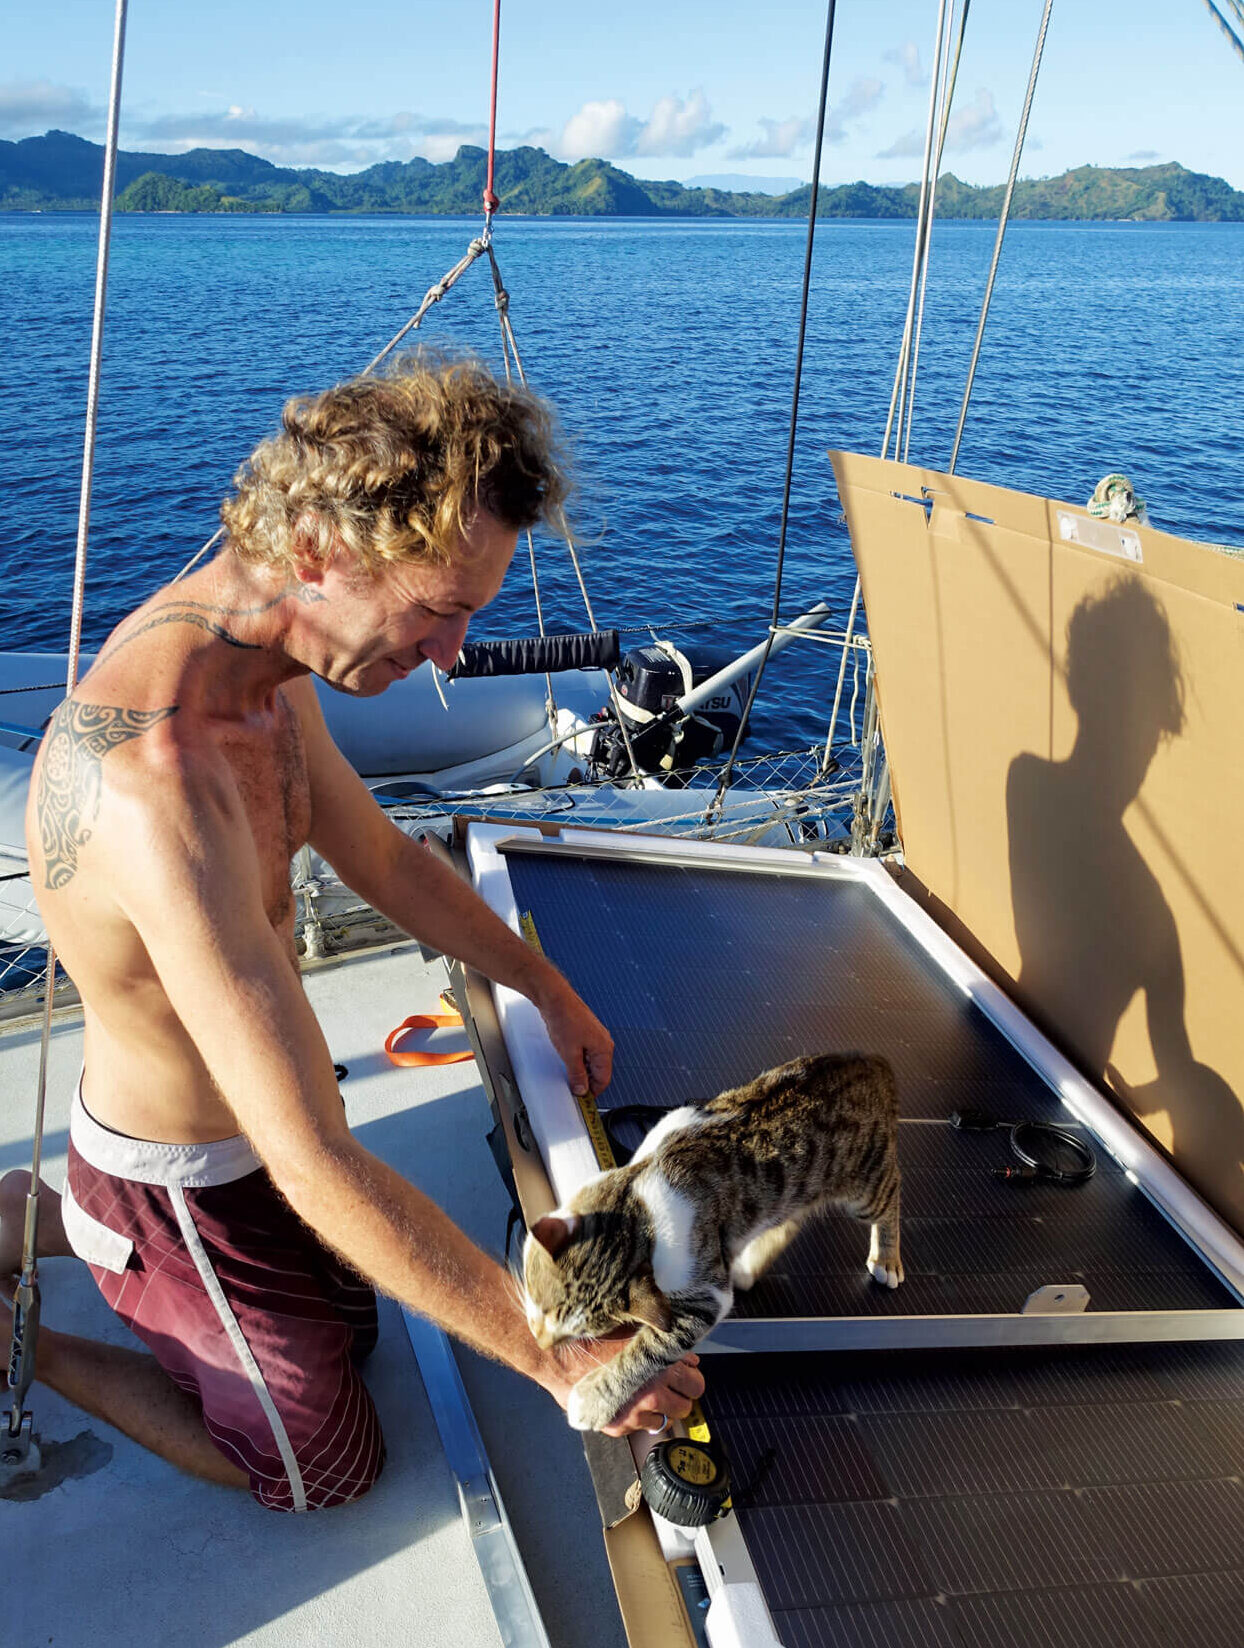
We started by fixing two 40 mm aluminum L profiles to the panel frame that would act as a support for the adjustable mount (pic 1). We used bolts for the first one, but adding on nylon washers and nuts in the teeny tiny gap between frame and panel was too hard on our relationship (“You put them on with your slim fingers…” followed by half an hour of cursing and fiddling on my part), so we decided to use rivets for the rest. Aluminum rivets are not as strong as bolts, but as all the other parts are of the same metal, they don’t cause corrosion and of course they are much quicker done than bolts (pic 2).
On the inner side of the panel, Christian added an L angle to which he would later on fasten a U-bolt that fits on Pitufa’s upper pushpit (pic 3) On the outer side he added another angle to mount a square profile as adjustable support (pic 4). We brought the panel into place with the help of a halyard, marked the position for “horizontal” and various angles on the adjustable support, took the panel down again, drilled the holes accordingly, put it back into place and TA-DA! Port side finished to be repeated the same way on starboard (pic 5).
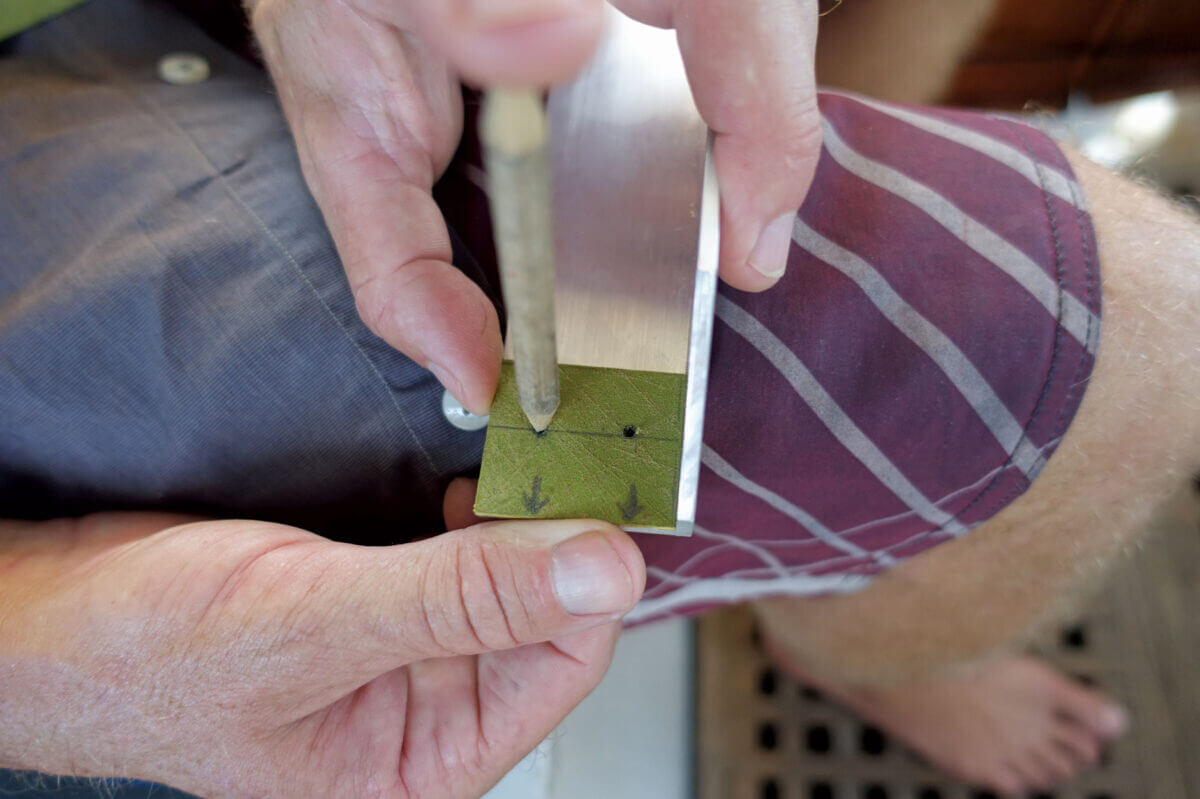
Template. Photo by Birgit Hackl & Christian Feldbauer
2. Radar arch panels
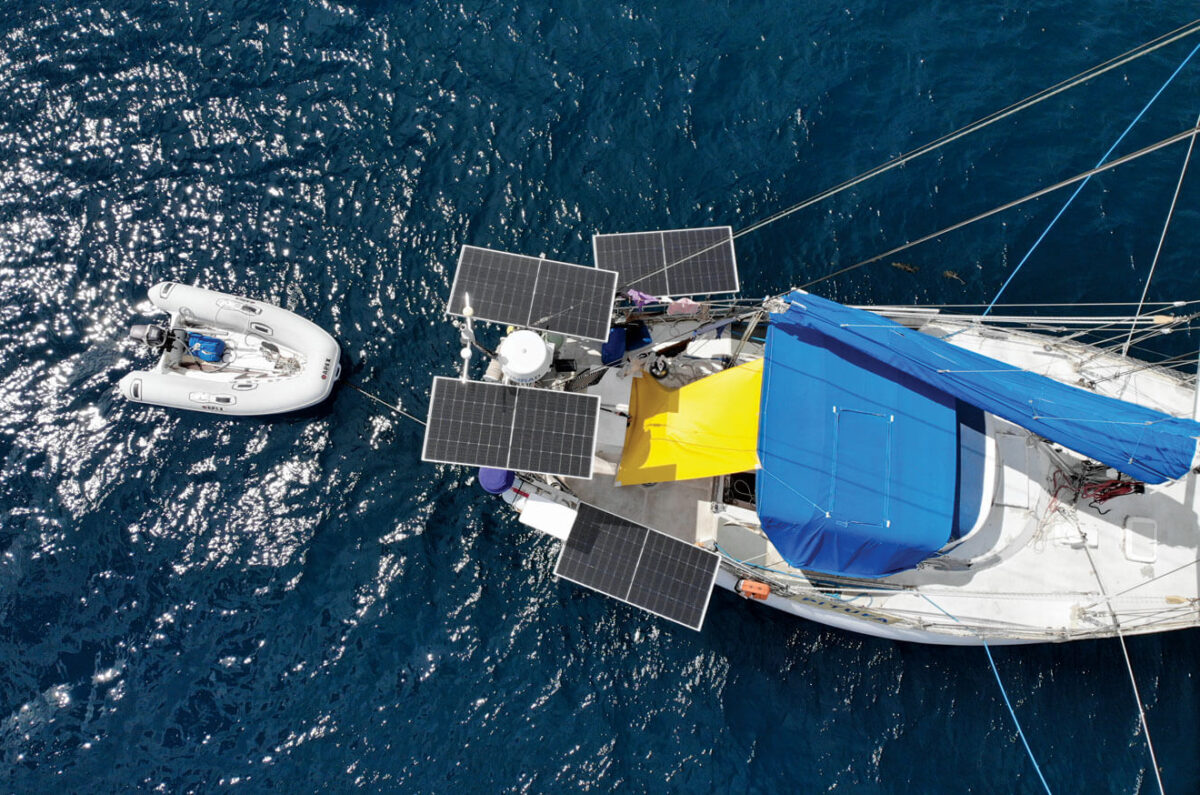
In this location the panels can be rigidly mounted, which makes things easier, but the challenge is the uneven shape of the arch and (in our case) the narrow design. So the mounting frame had to consist of square profiles to broaden the support, plus L-profiles like we used for the railing panels—again all riveted together. We then fixed these frames to the radar arch, using pipe clamps and sturdy M8 bolts (5/16”) with self-locking nuts (to prevent them from loosening due to vibration), plus one thick plastic plate per panel to compensate for the curved arch (pic 6).
Installation tips:
– Making a template for drill holes helps facilitate the repetitive process of measuring, marking and drilling.
– If your aluminum rivets have a steel pin, make sure to punch it out, or the remnants will lead to ugly rust stains and corrosion on the aluminum
– Ideally you should anchor in a very shallow spot to be able to retrieve whatever precious piece fell overboard. Tying up the dinghy underneath the panel also adds a certain safety factor for bolts, washers, nuts and (more importantly) tools.


——————————————-
Birgit and Christian have been cruising aboard their S&S SY Pitufa since 2011. Check out their blog www.pitufa.at for more info about their journey and/or read their travel books and DIY advice: “Sailing Towards the Horizon”, “Cruising Know-How” and “On Velvet Paws Towards the Horizon” are available on Amazon!
What This Means for Cruisers
Modern cruising boats consume far more electricity than they did even a decade ago. Refrigeration, Starlink, laptops, lithium charging systems, watermakers, and onboard electronics have transformed energy management into one of the defining challenges of long-term cruising.
For monohull owners especially, available mounting space often becomes the limiting factor. That’s where newer technologies like bifacial panels may offer a meaningful advantage. By capturing reflected light from the water, these systems can increase charging efficiency without requiring dramatically larger installations.
The article also highlights a reality every long-term cruiser eventually learns: energy systems evolve continuously. What feels oversized at departure often becomes insufficient after years aboard.
Quick Takeaways
- Efficiency matters more than raw panel count on monohulls
- Bifacial panels can benefit from reflected sea light
- Adjustable mounts improve charging performance offshore
- Corrosion prevention is critical in DIY aluminum work
- Lithium batteries and solar upgrades work best together
What to Do Next
- Audit your real-world daily energy consumption
- Compare bifacial and conventional panel efficiency
- Review mounting limitations before buying panels
- Consider future expansion before fabricating mounts
- Use corrosion-resistant hardware and isolation methods
Birgit Hackl has written for ALL AT SEA since 2012.
Worth your time?
Thanks — noted.